


How to Reverse Sear a Steak for an Even Crust
Learn how to reverse sear a steak with precise oven temperatures, an even pink center, and a fast cast iron finish for a deeply browned crust.
Learn how to reverse sear a steak with precise oven temperatures, an even pink center, and a fast cast iron finish for a deeply browned crust.

A thin gray band around a pink center is the sign of a steak cooked with too much heat too fast. If you want to know how to reverse sear a steak, the answer is to cook a thick cut gently in a low oven, then finish it in a smoking-hot skillet. That simple reversal gives you precise doneness from edge to edge and a deeply browned crust.
Start with Slickhorn Ranch Prime dry-aged steak for your next reverse sear
The quality of your reverse-sear starts long before the kitchen — explore our ranching heritage and how we raise our cattle.
.
Learning how to reverse sear a steak is the best way to cook thick cuts of beef while ensuring an even pink center. This two-step method involves baking the meat in a low oven first and then finishing it with a quick, high-heat sear in a cast iron pan. By starting with low heat, you ensure the internal temperature rises slowly and evenly while a quick sear creates a crust through the Maillard reaction. According to research, this searing process improves flavor without losing any juiciness and is best for any steak at least one and a half inches thick. This reliable technique helps you avoid overcooking while the meat reaches the goal you want.
Many home cooks struggle to get the best results with fine meat because they use the wrong heat. Understanding why reverse searing works for thick steaks will help you avoid dry edges and cold centers. Once you learn the science of heat, your steaks will be more consistent. The path begins with choosing a thick steak, drying and seasoning it well, and using a thermometer instead of relying on time alone.
Reverse searing works because low oven heat cooks a thick steak evenly and dries its surface, while a brief high-heat finish builds a dark crust without overcooking the center.
Most home cooks start with a hot pan. They sear the meat first and then finish it in the oven. This old way works for thin cuts, but it often fails with thick steaks. When you sear a cold steak at high heat, the outside cooks much faster than the inside.
You often end up with a gray, overcooked band of meat just under the crust. This band is tough and lacks flavor. The reverse sear flips the steps to give you better results. It starts with low heat to warm the meat gently before you add the final crust.
The first step in how to reverse sear a steak is to use a low oven. This slow start helps the meat cook evenly from edge to edge. When you keep the oven below 300 degrees, you start enzymes that help make the meat soft. This gentle heat keeps the muscle from tensing up too fast.
By cooking slowly, you have more control over the final heat. For a medium-rare steak, you usually pull the meat when it hits 120 degrees. This slow rise means you will not miss your goal. It is much easier to get a perfect pink center when you are not rushing. This method works well for USDA Prime dry-aged steak because it protects the rich fats.
A great steak needs a dark, crisp crust. This comes from the Maillard reaction. This is a change between amino acids and sugars that happens at high heat. Research shows that searing improves the flavor of beef by creating new taste parts. The reverse sear makes this better because the oven dries out the surface of the meat.
A dry surface browns much faster than a wet one. In an old sear, the pan must boil away water before the browning can start. This takes time and can overcook the meat. With the reverse sear, the steak comes out of the oven with a dry look. It only needs about 45 seconds per side in a hot pan to reach a deep brown color.
This way is best for steaks that are at least 1.5 to 2 inches thick. Thick cuts need time for the heat to move through the center. If you try this on a thin steak, the meat will cook through too fast. Steaks under one inch thick are not a good fit for this style. They are better for a quick, hot sear from start to finish.
When you have a thick cut like a ribeye, this method is the most sure path to a great meal. It turns a large piece of meat into a dish that is cooked well from top to bottom. If you reverse sear filet mignon, you will keep the lean meat moist while adding a bold flavor. This balance is why many pros choose this way to cook luxury beef.
To reverse sear a steak, you need a thick steak, kosher salt, black pepper, high-smoke-point oil, a wire rack and sheet pan, an accurate thermometer, tongs, and a heavy skillet.
To learn how to reverse sear a steak, you must start with the right tools. This method relies on slow heat and a fast finish to reach the best results. Having your gear ready will make the work smooth and help you avoid common errors in the kitchen.
The main piece of gear is a rimmed sheet pan and a wire rack. Placing the meat on a rack allows warm air to flow around it in the oven. This helps the surface dry out, which is needed to get a deep brown crust later. Using a pan with edges catches any stray drips during the slow bake.
You must use a good meat thermometer to track the inner heat. Since reverse searing is a two-step process, timing is less vital than the heat of the meat. High-quality beef requires precise care to stay tender and juicy. A digital probe is the best way to get a fast and clear read.
You also need a heavy skillet, like cast iron, to finish the job on the stovetop. Cast iron holds onto heat well, which is key for a quick sear. Long, sturdy tongs are also helpful to flip the meat without piercing the surface. These tools give you the control you need to cook a steak like a pro.
You only need a few simple items to let the flavor of the beef shine. Kosher salt and coarse black pepper are the best choices for a classic crust. You should season the meat well on all sides before it goes into the oven. This helps the salt sink in and bring out the natural taste of the beef.
You also need an oil with a high smoke point, like avocado or grapeseed oil. These oils can handle the high heat of a skillet without burning or smoking too much. Do not use butter too early in the pan, as it can burn and turn bitter. Save the butter for a final baste if you want a rich finish.
The star of the show is a thick cut of meat from a trusted source. For this method to work, use the reverse sear method on steaks that are at least one and a half inches thick. Using a thick cut prevents the center from overcooking during the final sear.
This quick step uses the Maillard reaction to create a rich, savory flavor on the outside of the steak. Selecting a cut with good fat, like a Wagyu ribeye, helps the meat stay moist. A thick steak allows you to control the inner heat for a perfect pink center every time.
To reverse sear a steak, season and dry-brine it, cook it on a rack in a 225 to 250 F oven until it is below the target temperature, then sear every surface in a very hot skillet for about 45 seconds at a time.
The reverse sear is a simple but powerful way to cook a great steak. Most people sear meat first and then finish it in the oven. This old way often leaves a gray band of overcooked meat around the pink center. The reverse sear flips that script. You start with a low, slow heat to warm the meat through. Then, you end with a quick, hot blast to build a crust. This searing step boosts flavor through a special chemical change. This method is the best way to get a perfect edge-to-edge pink center every time.
Not every steak works with this method. You need a thick cut for the slow oven stage to work. Aim for a steak that is at least 1.5 to 2 inches thick. If the meat is too thin, the oven will cook it through before you can even start the sear. Good choices are ribeyes, New York strips, or thick filets. You can use the same method for filet mignon to keep that lean cut very soft. If you start with a thin steak, you risk a dry and tough dinner. Proper thickness lets the heat move slow, which makes the meat more tender.
You should also look for good fat marks, or marbling, in the meat. This fat melts during the slow cook and adds a lot of juice. Slickhorn Ranch beef is known for this high quality. When you use this way to cook, the fat has time to break down and coat the meat fibers. This makes every bite taste better than a steak cooked fast over high heat alone. You get the best of both worlds: a soft inside and a crisp, salty outside. Thick steaks give you more room for error than thin cuts.
Start by taking your steak out of the fridge. While the ranch ships meat at low heat to keep it safe, you want it to dry out a bit before cooking. Pat the meat dry with a paper towel. Add a good amount of salt to all sides. Let the meat sit on a rack for at least 40 minutes. If you have time, let it sit in the fridge for a full day. This dry brining helps the salt move into the fibers. It also pulls moisture off the surface. A dry surface is the only way to get a fast, crisp crust in the pan.
If you skip the drying step, the meat will steam in the pan instead of searing. This results in a gray, soggy surface that lacks flavor. The salt also works to break down tough proteins over time. This makes the meat easier to chew. Being patient in this early stage pays off when you take your first bite. A well-prepped steak is much easier to cook than one that is still wet or cold in the center. Always use a clean rack to let air reach the bottom of the meat.
Set your oven to a low heat like 225 or 250 degrees. Put your seasoned steak on a wire rack set over a baking sheet. Do not put the meat flat on a pan. The rack lets hot air hit the bottom of the steak too. This ensures the meat cooks at the same speed on all sides. You must use a digital meat tool to watch the heat. Do not guess by time alone. For a medium-rare steak, you want to pull the meat when it hits 120 degrees. You can also use the reverse sear method for larger cuts that need even more time.
The goal of the oven stage is to bring the meat up to heat without losing juice. At low heat, the steak cooks gently. This keeps the cell walls in the meat from shrinking too fast. It also lets the enzymes in the meat work to make it even more tender. If the oven is too hot, you lose these gains. Keep the heat low and trust the process. It might take an hour or more, but the result is worth the wait. While the meat cooks, you can get your pan and oil ready for the final step.
Choose the right thick cut with Slickhorn Ranch's guide to beef cuts.
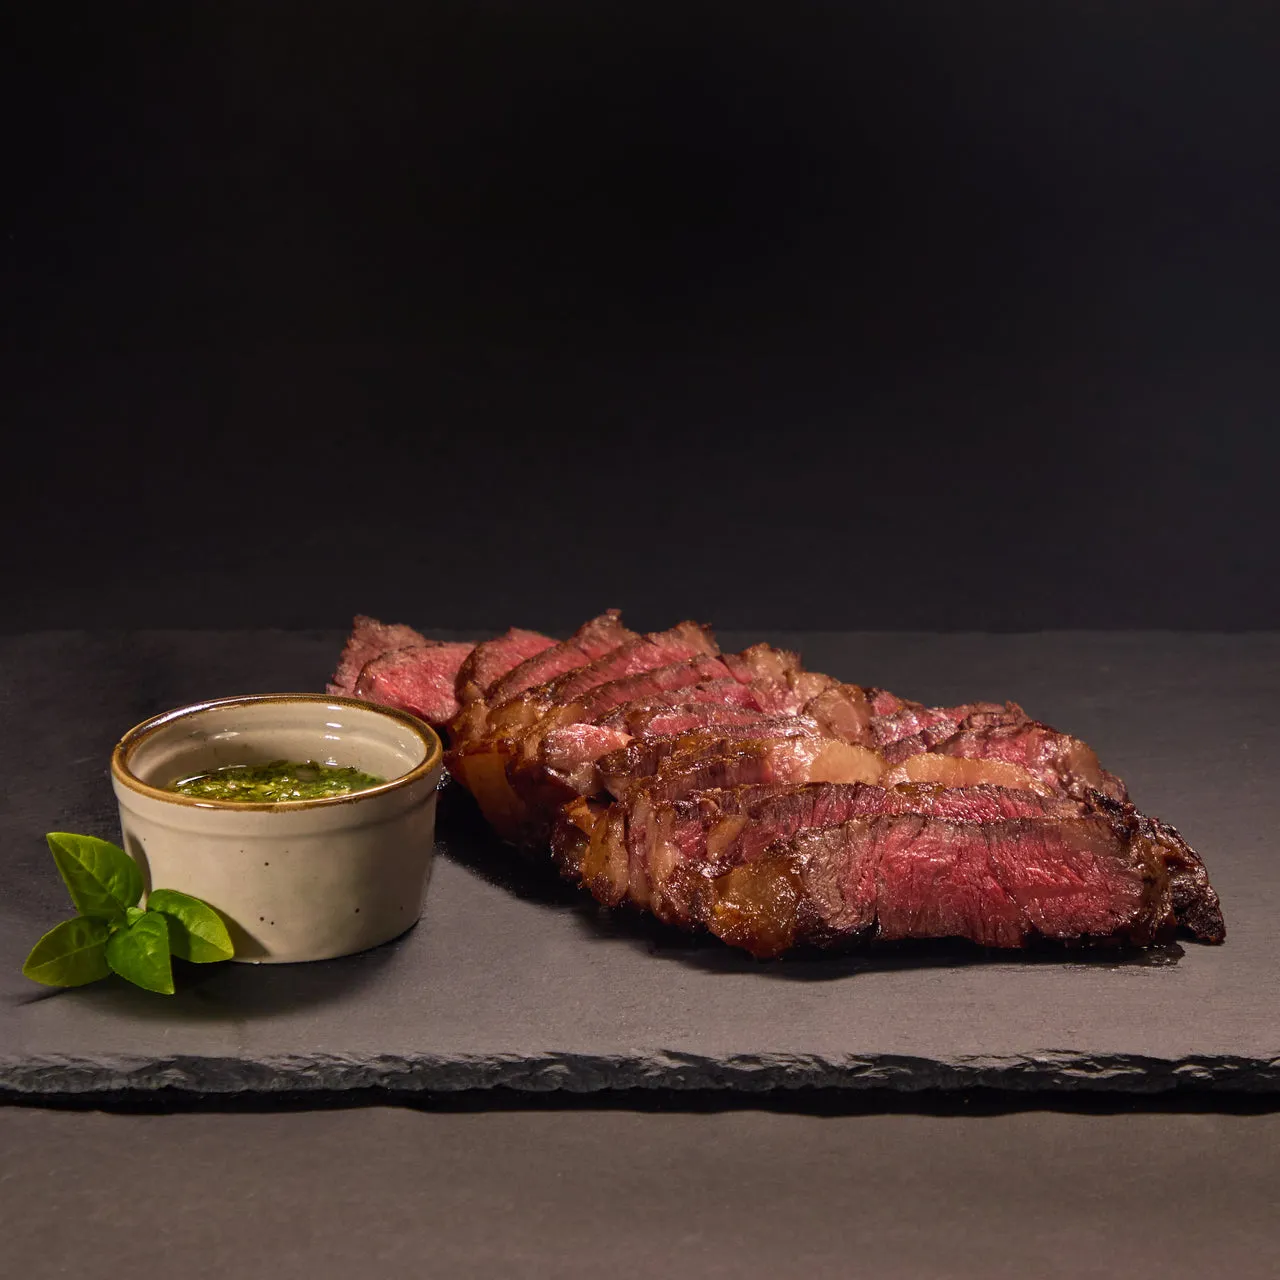
When you sear the steak, you use very high heat. This creates the Maillard reaction, which gives the meat its rich, roasted taste. You only need about a minute per side in the pan. If you go too long, you will overcook the inside. Make sure your meat stays at a safe heat before you start the cook. Dry aging improves flavor but does not change how you handle the raw meat. Keep it cold until you are ready to brine or cook. Once the sear is done, you can serve the steak right away. Since it cooked slow first, the juices are already set.
A heavy cast iron pan is the best tool for the sear. It holds a lot of heat, which helps brown the meat fast. Use a cooking oil that can handle high heat. Avoid butter at the very start because it can burn and taste bitter. You can add a pat of butter at the very end for extra richness. Pressing the steak down with a weight or your hand helps every part of the meat touch the hot metal. This ensures a deep, even color across the whole surface. Once you see that dark brown crust, you know the steak is done.
Use a 225 to 250 F oven and pull the steak below its desired final temperature before searing. For medium-rare, the guide below uses a 120 F oven pull temperature and a 135 F final temperature.
Getting the heat right is key when you use this low-oven technique for your beef. Unlike high-heat grilling, this way starts low and slow. A cool oven helps the meat cook the same from the edge to the center. It also helps the surface dry out. This leads to a better crust later. This step is vital for thick cuts like USDA Prime dry-aged steak from Prime and Choice cattle.
Set your oven to 250 degrees Fahrenheit to start. This low heat lets enzymes in the meat work to make it more tender. Most steaks will need about 45 to 60 minutes to reach the pull point. But time can vary. Factors like steak thickness and your oven type change how long it takes. You should not rely on a timer alone to tell when the meat is ready.
The best way to track your progress is with a digital meat probe. Since dry aging enhances flavor and changes how meat holds water, watching the internal heat is even more important. You want to pull the meat from the oven when it is about 10 to 15 degrees below your goal. The final heat will rise fast once you hit the pan for the sear.
Your target pull heat depends on how you like your steak. If you want a rare finish, pull the meat from the oven when it hits 90 degrees. For a medium-rare result, aim for 120 degrees in the oven. This gap allows the high heat of the pan to finish the job. It does this without overcooking the core of the steak.
| Desired Doneness | Oven Pull Temp | Final Internal Temp |
|---|---|---|
| Rare | 90 F | 125 F |
| Medium-Rare | 120 F | 135 F |
| Medium | 130 F | 145 F |
| Medium-Well | 140 F | 155 F |
The last step adds the bold flavor and dark crust people love. When you move the steak to a hot pan, it only needs about 45 seconds per side. This quick burst of heat triggers the Maillard reaction. This process creates the savory, roasted taste that defines a great steak. You can follow the filet mignon cooking guide or any thick cut with this same logic.
Keep in mind that the steak will still cook for a few minutes after it leaves the pan. This is called carryover cooking. Because the oven step was so gentle, the steak does not need a long rest. You can serve it almost right away. Always check the heat one last time to ensure it reached the safe level of at least 145 degrees Fahrenheit for some cuts. Many people still prefer lower heat for the best taste.
For an even crust without an overcooked center, dry the steak thoroughly, preheat a heavy skillet until very hot, use high-smoke-point oil, and keep each searing interval brief.
Getting a dark crust on a steak while keeping the inside rare is a usual goal for cooks. The key is to manage heat and water at the same time. When you how to reverse sear a steak, you have now done most of the cooking in the oven. The final step is all about the sear. A short, high-heat blast gives you that rich taste without making the meat tough.
Water is the biggest foe of a good crust. If the surface of your meat is wet, the heat from the pan will turn that water into steam. This steams the meat instead of browning it. To stop this, use a paper towel to pat the steak dry on all sides before it touches the pan. This step is vital for any cut, whether you reverse sear a ribeye for a ribeye or a leaner cut.
For an even better result, you can let the steak sit in the fridge open on a wire rack. This "dry brine" lets air move around the meat to dry out the skin. A dry surface allows the Maillard reaction to start as soon as the meat hits the oil. This natural step is what gives browned meat its rich taste and smell, as noted by experts at the National Institutes of Health.
A thin pan will lose heat as soon as you add the meat. Use a heavy pan or a steel pan that can hold a lot of heat. You want the pan to be very hot before you add any fat. Choose an oil with a high smoke point, like avocado or grapeseed oil. These oils can handle high heat without burning or tasting bitter.
Once the oil is shiny, place the steak in the pan. You only need about 45 seconds per side to get a deep brown color. Do not forget to sear the edges, too. Use tongs to hold the steak up and press the fat cap against the hot metal. This brief contact builds a crust quickly so the heat does not reach the center of the steak.
Wait until the last minute of cooking to add butter. Butter has milk solids that burn at high heat. If you add it too soon, the crust will taste like ash. Drop in a cold pat of butter along with fresh herbs like thyme or garlic. Tilt the pan and spoon the foaming fat over the meat. This basting step fills in any gaps in the crust for a perfect finish.
Make sure you have good air flow in your kitchen. High-heat searing will create some smoke, but that is a sign of a job well done. By keeping the pan time short, you ensure that the inside heat stays right where you want it. This balance of heat and speed is what makes the reverse sear so good for thick, premium steaks.
The most common reverse sear mistakes are using a steak that is too thin, leaving the surface wet, searing in a cool skillet, cooking by time instead of temperature, and forgetting to sear the edges.
Even the best home cooks can trip up when they learn how to reverse sear a steak. This method is slow and needs care. If you rush, you might ruin a high-end cut of beef. Here are the most common errors people make and how you can avoid them to get a perfect meal each time.
The most common slip is using a steak that is too thin. If your beef is less than one inch thick, it will cook too fast in the oven. You will lose the chance to build a deep crust without cooking the center too much. For the best results, pick a cut that is one and a half inches thick or more. When you use the reverse sear method on a thick ribeye, you get a pink center from edge to edge.
A second error is not drying the meat before it hits the pan. Moisture is bad for a good crust. If the surface is wet, the steak will steam rather than sear. Use a paper towel to pat the meat dry after it comes out of the oven. This step helps the Maillard reaction take place, which gives the beef a rich, roasted flavor.
Many cooks also sear the meat for too long. You only need about 45 seconds per side in a very hot skillet. If you stay in the pan too long, you will create a gray band of meat that is cooked too much under the crust. Keep your heat high and move fast. Using a skillet that is not hot enough is also a big mistake. You want the pan to be very hot before the meat touches it. If the pan is cool, you will just cook the inside of the steak more. Cast iron is the best tool for this job because it holds onto heat well.
Be careful with the fat you use in the pan. Butter has a low smoke point and will burn if the pan is too hot. Burnt butter tastes bitter and can ruin your meal. Use an oil with a high smoke point, like avocado oil, for the main sear. You can add a knob of butter at the very end to baste the meat for extra flavor.
Do not rely on a timer to tell you when the steak is done. Each oven and each cut of beef is unique, so times can vary. A thin filet might be ready much sooner than a large porterhouse. You should use a meat probe to track the heat on the inside. Pull the meat from the oven when it is about ten degrees below your goal.
Some people forget to sear the edges of the steak. Fat on the sides of the beef needs heat to render and turn crisp. Use tongs to hold the steak on its side in the hot pan for a few seconds. This adds more flavor and makes the steak look great on the plate.
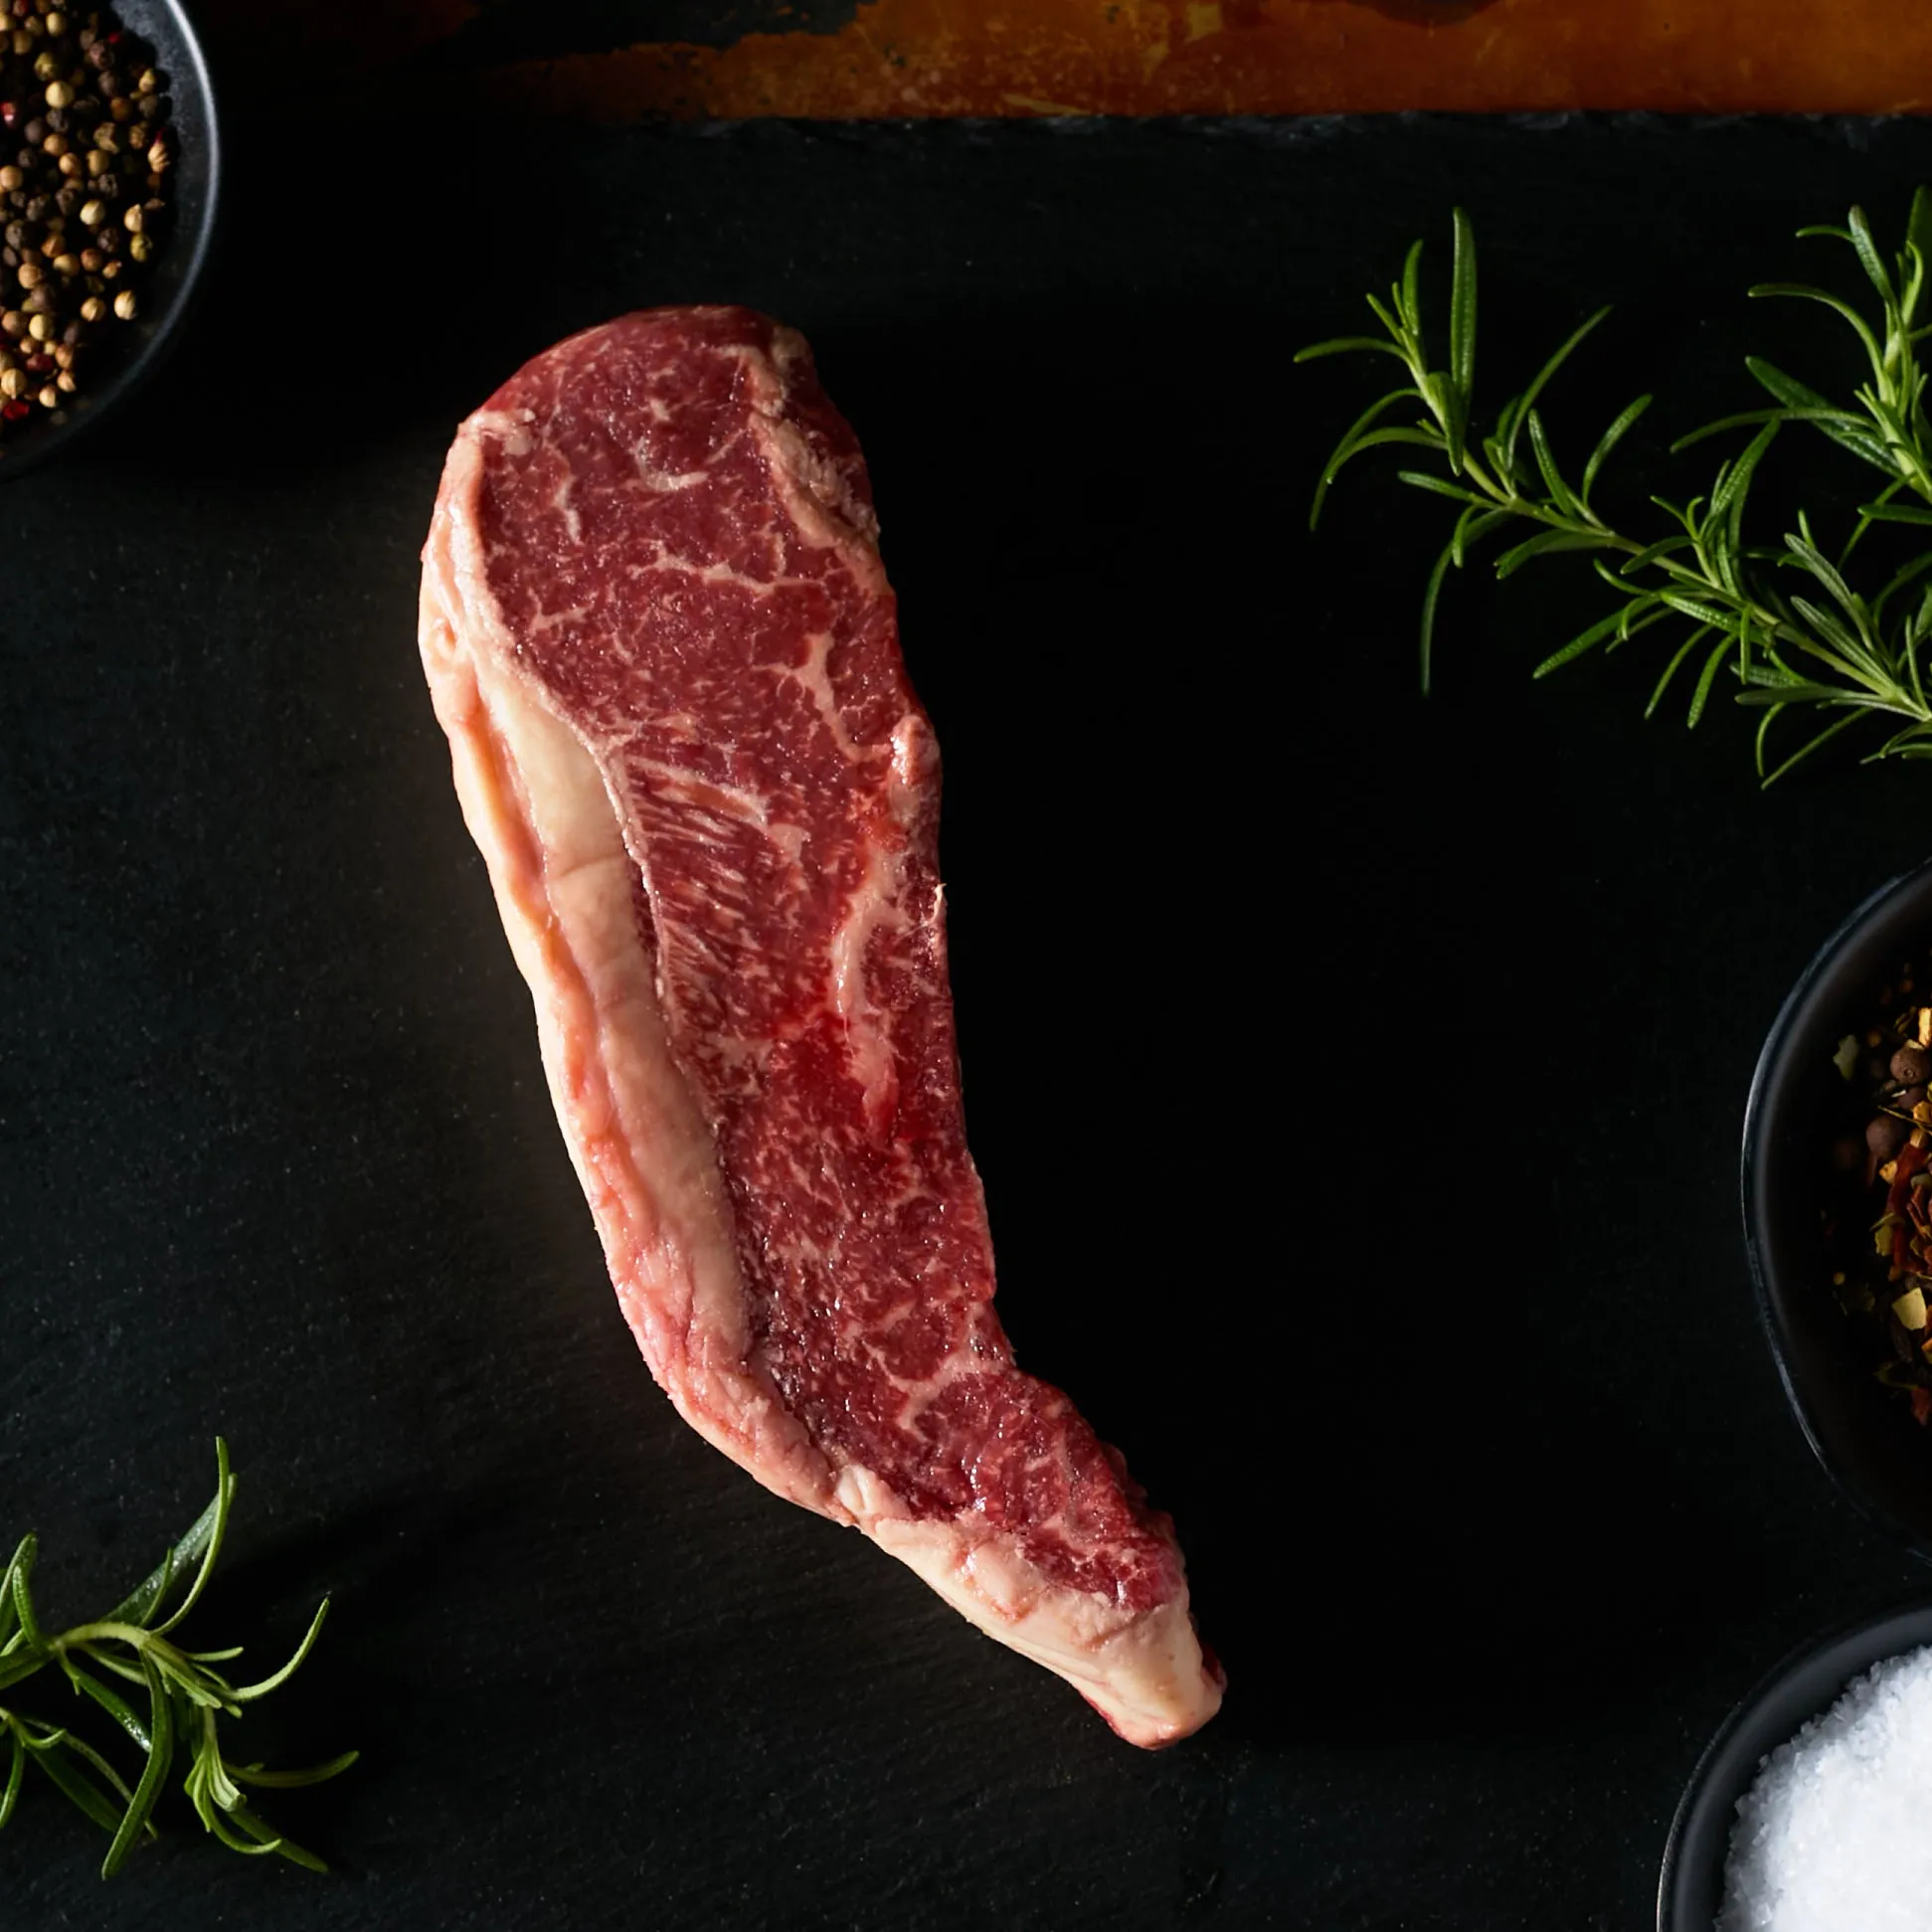
The best steaks for reverse searing are ribeye, New York strip, filet mignon, and other cuts that are at least 1.5 to 2 inches thick. Thin steaks cook through too quickly for this method.
The reverse sear is a great tool for home cooks who love thick, juicy beef. When you learn how to reverse sear a steak, the first step is picking the right cut. Not every steak works for this two-step path, as you need a cut that can sit in a low-heat oven for a long time. This method helps you get that perfect pink color from one edge to the other.
Most people want a steak with a bold crust and a tender center. The reverse sear delivers this by drying the surface of the meat in the oven. This dry surface makes it easier to get a fast sear at the end. Choosing the right cut ensures that your hard work leads to a great meal, so stick with thick, high-quality beef for the best results.
Thickness is the most vital part when you pick your meat. To see the best results, look for a steak that is at least 1.5 to 2 inches thick. As experts say, this thickness lets the center warm up slowly while the outside stays dry.
If the meat is too thin, the heat will reach the middle too fast, which leads to overcooked beef before you even start to sear it. Steaks that are less than one inch thick are not a good fit for this style. They lack the mass needed to handle a slow roast in the oven.
By the time the oven stage is done, a thin steak will already be well-done. You want enough room in the meat to control the heat, which is why thick-cut steaks are the best choice for a slow-start cook.
A thick ribeye is often called the best cut for this method. It has a lot of fat, which helps keep the meat moist during the slow roast. You can use this two-stage cooking method to melt that fat into the meat for deep flavor. The low oven heat gives the fat time to break down without burning the outside of the steak.
The New York strip is another top choice for this technique. It has a tight grain and a thick strip of fat along the edge. These traits help it hold its shape and moisture during the long cook time.
You get a firm, beefy bite with a rich crust. For a big meal, you might also try a T-bone or a porterhouse, as these cuts have plenty of thickness to handle the heat.
You can also use this method for leaner cuts like the filet mignon. This cut is very tender but has less fat than a ribeye. You can reverse sear a thick filet to keep it soft and juicy while adding a rich crust. It allows for great control over the final temp of such a prize piece of meat.
Searing at the end is what builds the final flavor of the beef. This step uses the Maillard reaction to create a rich, roasted taste. This reaction is a change in amino acids that adds a deep brown color and a smell you cannot get from a slow roast alone. To find more ways to cook your meat, learn more about advanced cooking methods from our team.
These quick answers cover the best cuts, oven setting, resting time, and pull temperature for anyone learning how to reverse sear a steak.
The reverse sear method works best with thick cuts of meat that are at least 1.5 to 2 inches thick. According to Jessica Gavin, top picks include ribeye, New York strip, and filet mignon. These thick steaks need the slow cook time of an oven to heat evenly through the center. Thin cuts will cook too fast and might get tough or dry before you can form a good crust.
Set your oven to a low temperature, usually between 225 and 250 degrees Fahrenheit. This slow heat helps the meat cook at an even pace from the edge to the middle. It also helps to dry out the surface of the steak. A dry surface is key because it helps you get a better crust during the final sear. Cooking at a low heat also keeps the Slickhorn Ranch beef tender and juicy.
One big plus of the reverse sear method is that the steak does not need much rest time after it is done. Since you cook the meat slowly at first, the juices do not move around as much as they do with high heat. You can sear the steak and serve it almost right away. This means you can eat your dry-aged Prime and Choice beef while it is still hot and at its peak flavor.
For a perfect medium-rare steak, take it out of the oven when the inside heat reaches 120 degrees Fahrenheit. A study on steak flavor shows that searing then adds the final taste and look. After you pull it from the oven, sear each side in a hot pan for about 45 seconds. This final step brings the meat to the right heat for serving while creating a savory, brown crust on the outside.
Start with a thick, well-marbled steak, follow the temperatures in this guide, and use a fast final sear to serve a better crust and a more even center at home.
Every meal you spend with a tough steak is a missed chance for great food that you and your family deserve. Fine meat is too good to waste on poor heat control or bad timing when you are at the grill. When you wait to learn the right way to cook, you lose out on the best flavor and the best feel. You can start to get better results now so your next dinner is a hit for all of your guests. The cost of doing nothing is one more dry meal that fails to wow the people that you love most. You should look at our guide to beef cuts to find the best match for your next meal right now. Do not let more time go by without trying this simple way to cook in your very own home kitchen.
Shop the Slickhorn Ranch beef collection for your next reverse sear.
Your cart is currently empty.
Start Shopping